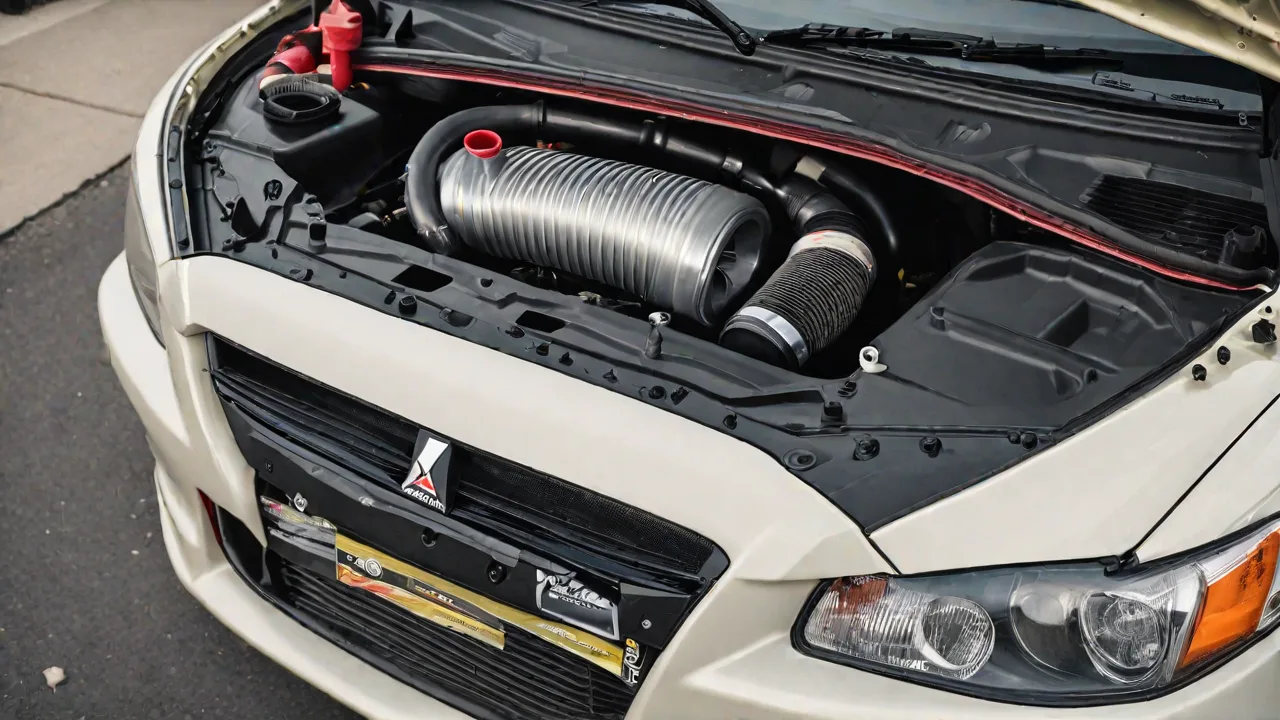
Step-by-Step Guide to Installing a Cold Air Intake on the Mitsubishi Lancer Evolution
Upgrading your Mitsubishi Lancer Evolution with a cold air intake is one of the most effective and popular modifications to enhance your vehicle’s engine performance. By replacing the restrictive factory air intake system with a high-flow cold air intake, you can increase airflow to the engine, which improves combustion efficiency. This results in better throttle response, increased horsepower and torque, and a more aggressive engine sound that many enthusiasts appreciate. This comprehensive step-by-step guide will walk you through the entire installation process, providing tips and best practices to ensure a smooth and successful upgrade.
Understanding the Benefits of a Cold Air Intake
Before diving into the installation, it’s helpful to understand why a cold air intake is a worthwhile upgrade for your Mitsubishi Lancer Evolution:
- Improved Airflow: Factory air intakes are designed for cost-effectiveness and noise reduction, often restricting airflow. A cold air intake uses a larger diameter pipe and a less restrictive filter to allow more air into the engine.
- Cooler Air Supply: Cold air is denser than warm air, meaning it contains more oxygen molecules per volume. Drawing air from outside the hot engine bay instead of inside helps improve combustion efficiency.
- Enhanced Engine Sound: Many cold air intakes provide a deeper, throatier induction sound that enhances the driving experience.
- Potential Performance Gains: With better air delivery, you may see noticeable improvements in horsepower, torque, and throttle responsiveness, especially when combined with other supporting modifications.
- Easy Maintenance: High-quality reusable air filters included with many cold air intake kits can be cleaned and reused, reducing long-term maintenance costs.
Tools and Materials Needed
Having the right tools and materials on hand before you start will make the installation process faster and more efficient. For this project, gather the following:
- Cold air intake kit: Make sure it’s compatible specifically with the Mitsubishi Lancer Evolution model year you own, as designs vary between generations.
- Screwdrivers: Both flathead and Phillips types will be necessary for loosening clamps and removing screws.
- Socket wrench set: Various sizes, typically 8mm, 10mm, and 12mm sockets, to remove bolts securing the stock airbox and intake components.
- Pliers: Helpful for removing hose clamps or sensors.
- Gloves and safety glasses: Protect your hands from sharp edges and your eyes from debris.
- Clean rag or towel: For wiping surfaces and cleaning components before installation.
- Torque wrench (optional): To ensure bolts are tightened to manufacturer specifications.
- Zip ties or clamps: Sometimes included in the kit but good to have extras for securing hoses or wiring.
Preparation Before Installation
Proper preparation is key to a successful installation and to avoid damaging delicate engine components. Follow these steps:
- Park on a flat, stable surface: Ensure your vehicle is in “Park” with the parking brake engaged.
- Allow the engine to cool completely: This prevents burns and makes handling parts easier.
- Disconnect the negative battery terminal: To avoid electrical shorts or accidental sensor damage during the removal of the factory intake.
- Review the cold air intake kit instructions: Each manufacturer may have specific steps or warnings. Familiarize yourself with the parts and hardware included.
- Gather all tools and lay out all parts: Organize everything so you can easily access components during the install.
Step-by-Step Installation Guide
Step 1: Remove the Factory Air Intake Assembly
The factory air intake and airbox restrict airflow and must be removed carefully:
- Locate the air intake system on the passenger side of the engine bay.
- Using a screwdriver, loosen the clamps securing the intake hose to the throttle body and the airbox.
- Remove any bolts or screws holding the airbox in place using the socket wrench.
- Carefully disconnect any sensors attached to the intake system, such as the Mass Air Flow (MAF) sensor or intake air temperature sensor. Handle these sensors gently to avoid damage.
- Remove the entire intake assembly, including the air filter, intake pipe, and airbox, from the engine bay.
- Inspect the throttle body and surrounding areas for dirt or debris and wipe clean with a rag.
Step 2: Prepare the New Cold Air Intake Components
Before installing the new cold air intake, prepare the components:
- Check the filter and intake pipe for any shipping debris or protective coatings and remove them.
- Install any silicone couplers, hoses, or brackets included in the kit onto the intake pipe as per the manufacturer’s instructions.
- Attach the air filter to the intake pipe but do not fully tighten clamps until final positioning is determined.
- If your kit includes a heat shield or airbox enclosure, assemble it according to the instructions.
Step 3: Install the Cold Air Intake Assembly
Now you’re ready to fit the new intake into your engine bay:
- Position the intake pipe into place, connecting the silicone coupler to the throttle body.
- Secure the intake pipe using the supplied brackets and hardware. Ensure the pipe does not contact any hot engine components or moving parts such as the fan belts or pulleys.
- Reattach the sensors to the designated ports on the intake pipe, such as the MAF sensor. Double-check that electrical connectors are fully seated.
- Place the air filter at the end of the intake pipe, orienting it toward the area where it can draw the coolest air possible—often toward the front fender or wheel well.
- Secure all clamps snugly but avoid overtightening, which could damage the couplers or intake pipe.
Step 4: Verify Proper Fitment and Clearances
Before finalizing the installation, perform a thorough inspection:
- Check that all bolts, screws, and clamps are tight and secure.
- Ensure there is sufficient clearance around the intake pipe and filter to prevent rubbing or contact with engine components during driving.
- Confirm that sensor wires are routed safely away from heat sources and moving parts.
- If your kit includes a heat shield, verify it is properly installed and positioned to protect the intake from engine heat.
Step 5: Reconnect the Battery and Test the Installation
With the cold air intake installed and checked, it’s time to test your work:
- Reconnect the negative battery terminal securely.
- Start the engine and listen carefully for any unusual noises such as whistling, hissing, or rattling, which could indicate leaks or loose parts.
- Observe the Check Engine Light (CEL). If it illuminates, double-check sensor connections and ensure no diagnostic trouble codes (DTCs) are triggered.
- Take your Mitsubishi Lancer Evolution for a short test drive, paying attention to throttle response and acceleration.
- After the test drive, re-inspect the intake system to confirm all parts remain secure and properly seated.
Additional Tips for Optimal Performance
To maximize the benefits of your new cold air intake and maintain your vehicle’s reliability, consider the following tips:
- Regularly clean the air filter: Most cold air intake kits include a reusable filter that should be cleaned every 10,000 to 15,000 miles or more frequently if driven in dusty conditions.
- Use high-quality replacement filter oil: If your filter requires oiling, use the recommended product to maintain filtration efficiency without damaging the MAF sensor.
- Pair with supporting modifications: Combining the cold air intake with an upgraded exhaust system, performance ECU tune, or intercooler upgrade can yield even greater performance gains.
- Monitor engine parameters: Using an OBD-II scanner or performance monitor can help you track improvements and ensure the engine operates within safe limits.
- Consult local regulations: Some aftermarket intake systems may not be street-legal in certain regions due to emissions or noise regulations. Verify compliance before installation.
Common Issues and Troubleshooting
While installing a cold air intake is generally straightforward, you may encounter some common issues. Here’s how to address them:
- Check Engine Light after installation: This often indicates a problem with sensor connections, especially the MAF sensor. Double-check wiring and sensor placement.
- Unusual engine noises: Whistling or hissing sounds may be due to loose clamps or leaks in the intake pipe. Tighten clamps or reseat couplers.
- Poor fitment or rubbing: Adjust brackets or reposition the intake pipe to prevent contact with engine components.
- Reduced performance or hesitation: Ensure the air filter is clean and properly installed, and confirm no vacuum leaks exist.
Conclusion
Installing a cold air intake on your Mitsubishi Lancer Evolution is a rewarding upgrade that enhances engine performance, improves throttle response, and adds an invigorating sound to your driving experience. By carefully following this step-by-step guide and taking the time to prepare, install, and test the new intake system, you can confidently transform your Evo’s breathing capability while maintaining reliability and safety. Remember to maintain your new intake with regular filter cleaning and inspection to enjoy long-term benefits from this popular performance modification.