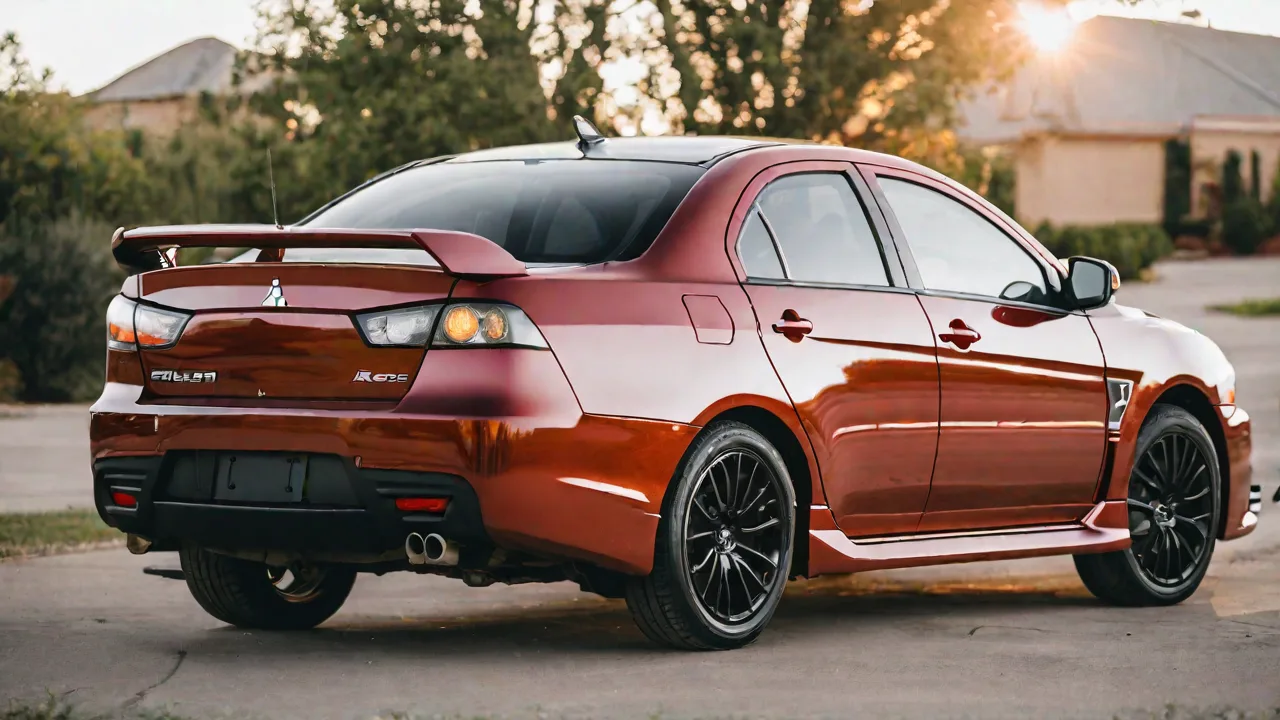
How to Perform a DIY Oil Change on Your Mitsubishi Lancer Ralliart Sedan
Performing a DIY oil change on your Mitsubishi Lancer Ralliart Sedan is not only a cost-effective way to maintain your vehicle, but it also allows you to ensure that your car receives the best possible care. Regular oil changes are critical for preserving engine performance, improving fuel efficiency, and extending the overall lifespan of your Mitsubishi. By changing the oil yourself, you gain a deeper understanding of your vehicle’s needs and can spot potential issues early on.
Why Regular Oil Changes Are Important for Your Mitsubishi Lancer Ralliart
The Mitsubishi Lancer Ralliart is equipped with a turbocharged engine that demands consistent maintenance to operate optimally. Engine oil lubricates all moving parts inside the engine, reducing friction, preventing overheating, and protecting against wear and tear. Over time, oil breaks down and becomes contaminated with dirt, metal particles, and combustion byproducts, which can cause engine sludge and damage. Changing the oil at recommended intervals ensures that fresh oil circulates through the engine, maintaining cleanliness and performance.
Failing to change the oil regularly can lead to decreased engine efficiency, increased emissions, and potentially costly repairs. The Ralliart’s turbocharged engine is particularly sensitive to oil quality because the turbocharger relies heavily on clean oil to function properly and avoid premature wear.
Gathering the Necessary Tools and Materials
Before starting your oil change, make sure you have all the required items ready. Using the right type and amount of oil, as well as the correct oil filter, is crucial for your Lancer Ralliart’s health. Refer to your owner’s manual for specifications and recommendations.
- Engine Oil: Consult your owner’s manual for the recommended oil viscosity (commonly 5W-30 synthetic for the Ralliart) and quantity, which is typically around 4.5 to 5 quarts.
- Oil Filter: Purchase an oil filter specifically designed for the Mitsubishi Lancer Ralliart to ensure proper fit and filtration efficiency.
- Oil Drain Pan: A container large enough to hold all the used oil, usually at least 5 quarts capacity.
- Wrenches or Socket Set: Typically, a 17mm socket or wrench is needed to remove the drain plug, but check your model’s specifications.
- Oil Filter Wrench: To safely remove the oil filter without damaging it.
- Funnel: To pour new oil without spilling.
- Gloves and Rags: To protect your hands and clean up spills.
- Jack and Jack Stands or Ramps: To safely elevate your vehicle for access to the oil drain plug and filter.
- Torque Wrench (Optional): To tighten the drain plug and oil filter to manufacturer-specified torque settings.
Preparing Your Work Area and Vehicle
Choose a flat, level surface in a well-ventilated area to work on your vehicle. Avoid soft ground or slopes where the car might shift or fall off the jack stands. If you’re working in a garage, ensure adequate lighting and ventilation. Wear old clothes or coveralls and gloves to protect your skin from oil.
Before lifting the car, engage the parking brake and place wheel chocks behind the rear wheels to prevent rolling. If using a jack, carefully lift the front of the vehicle and secure it with jack stands placed at the manufacturer’s recommended lift points. Alternatively, drive the car up ramps for easier access underneath.
Step-by-Step Guide to Changing the Oil on Your Mitsubishi Lancer Ralliart
1. Warm Up the Engine
Start the engine and let it run for about 5 to 10 minutes. Warm oil flows more easily, helping to drain out contaminants effectively. After warming up, turn off the engine and wait a few minutes for the oil to settle.
2. Position the Oil Drain Pan
Locate the oil drain plug underneath the engine. On the Lancer Ralliart, it is usually found on the oil pan at the bottom of the engine. Place the drain pan directly beneath the plug to catch all draining oil and avoid spills.
3. Remove the Drain Plug
Using the correct size wrench or socket, carefully loosen and remove the drain plug. Be prepared for hot oil to start flowing out immediately. Allow all the oil to drain completely, which may take several minutes. Inspect the drain plug’s washer or gasket for wear, and replace it if necessary to prevent leaks.
4. Remove the Old Oil Filter
Locate the oil filter, which on the Lancer Ralliart is typically found near the engine block and accessible from underneath the car. Use the oil filter wrench to turn the filter counterclockwise until it comes loose. Be cautious as some oil will spill out; keep the drain pan underneath to catch it.
5. Prepare and Install the New Oil Filter
Before installing the new filter, apply a thin layer of fresh engine oil to the rubber seal on the top of the filter. This helps create a proper seal and makes future removal easier. Screw the new filter on by hand, turning it clockwise until it is snug. Avoid overtightening, which can damage the seal.
6. Replace and Tighten the Drain Plug
Once all the oil has drained, reinstall the drain plug. Tighten it securely by hand and then use your wrench to give it an additional quarter to half turn. If you have a torque wrench, tighten it to the manufacturer’s recommended torque setting (usually around 25 to 30 ft-lbs) to prevent stripping or leaks.
7. Add New Engine Oil
Open the hood and locate the oil filler cap on top of the engine. Remove the cap and position a funnel in the opening. Pour in the specified amount of fresh engine oil as indicated in your owner’s manual. For the Lancer Ralliart, this is typically around 4.5 to 5 quarts of synthetic 5W-30 oil, but verify for your exact year and model.
8. Check for Leaks and Oil Level
After adding oil, replace the oil filler cap and start the engine. Let it run for a minute while you inspect underneath the car for leaks around the drain plug and oil filter. Turn off the engine and wait a few minutes to allow oil to settle.
Use the dipstick to check the oil level. Pull it out, wipe it clean, then reinsert fully before pulling it out again to read the level. Add more oil if the level is below the recommended mark, but avoid overfilling, which can cause engine damage.
9. Dispose of Used Oil Properly
Used engine oil is hazardous waste and should never be poured down drains or onto the ground. Transfer the used oil into a sealed container and take it to an authorized recycling center or automotive shop that accepts used oil. Many auto parts stores offer free oil recycling services.
Additional Tips for Maintaining Your Mitsubishi Lancer Ralliart
- Oil Change Interval: Follow the recommended oil change intervals in your owner’s manual, typically every 5,000 to 7,500 miles for synthetic oil. More frequent changes may be necessary if you drive under severe conditions such as frequent short trips, extreme temperatures, or heavy towing.
- Use Quality Oil and Filters: Always choose high-quality synthetic oil and OEM or reputable aftermarket oil filters to ensure optimal engine protection.
- Check Other Fluids: While performing an oil change, take the opportunity to inspect other fluids such as coolant, brake fluid, transmission fluid, and power steering fluid.
- Monitor Your Engine’s Performance: Pay attention to unusual noises, smoke, or warning lights that may indicate engine issues requiring professional attention.
- Keep Records: Maintain a log of oil changes and maintenance activities to track your vehicle’s service history and resale value.
Troubleshooting Common Issues During an Oil Change
Oil Does Not Drain Completely
If oil appears to be draining slowly or not at all, first ensure the engine was properly warmed up. Sometimes sludge or debris can clog the drain plug or oil pan. Avoid forcing the plug open and inspect for any blockages. If you suspect a clog, consult a professional mechanic.
Difficulty Removing the Oil Filter
Oil filters can sometimes become very tight due to heat and pressure. Use a quality oil filter wrench and apply steady, controlled force. If the filter is stuck, try turning it slightly back and forth to loosen the seal. Applying penetrating oil around the filter base can help, but avoid contaminating the engine.
Leaks After Reassembly
Leaks around the drain plug or oil filter often result from improper installation or damaged seals. Double-check the condition of the drain plug washer and the oil filter seal. Ensure both components are tightened to correct torque specifications. If leaks persist, replace the faulty parts immediately.
Conclusion
Changing the oil on your Mitsubishi Lancer Ralliart Sedan is a manageable task that, when done correctly, significantly benefits your vehicle’s performance and longevity. By investing the time to learn and perform this routine maintenance yourself, you not only save money but also develop a better connection with your car’s mechanical health. Always prioritize safety, use proper tools and materials, and adhere to manufacturer guidelines to ensure a successful oil change. With regular care, your Lancer Ralliart will continue to deliver the spirited driving experience it is known for, mile after mile.